Keeping the Heat Steady in Steam Bread Ovens
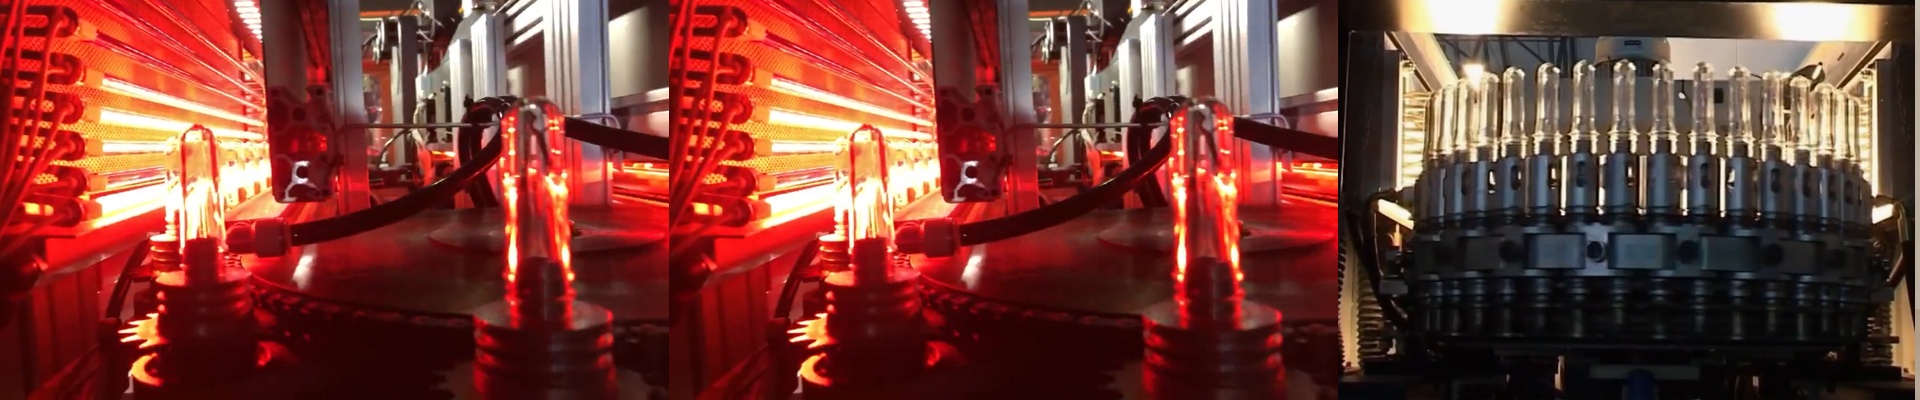
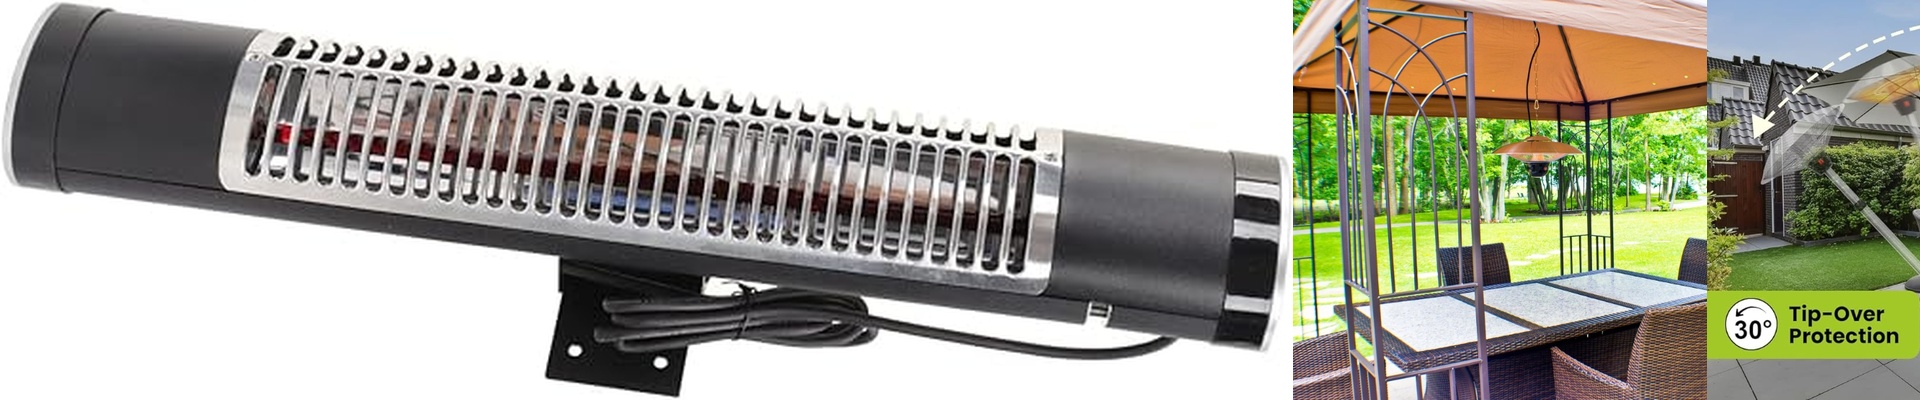
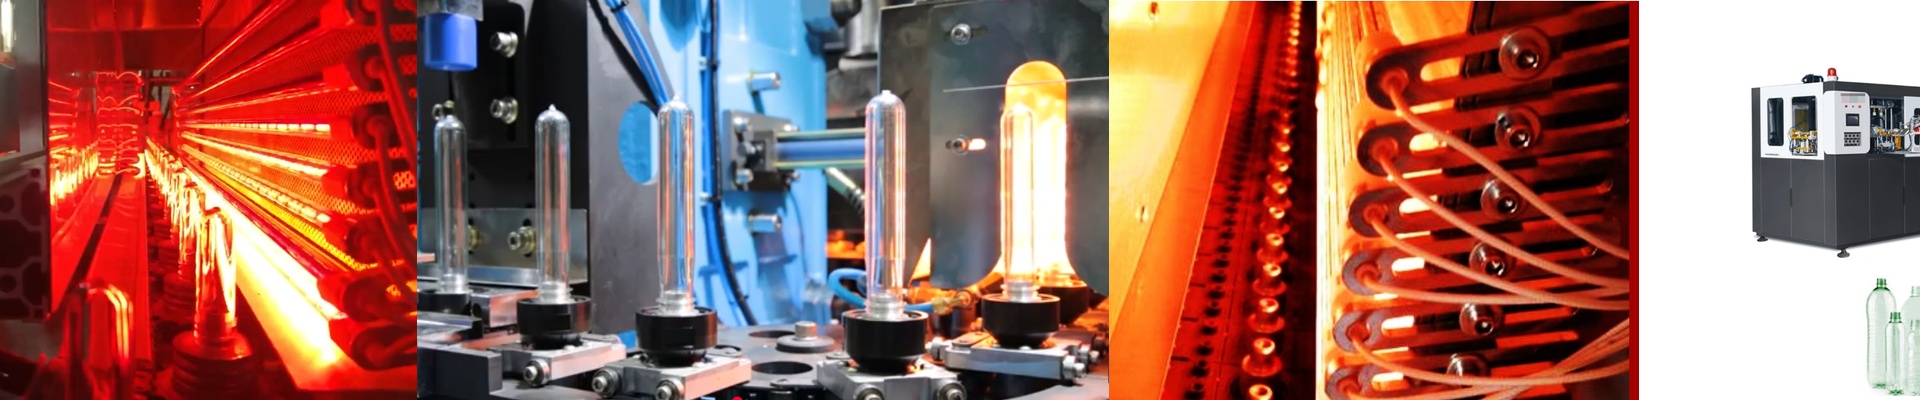
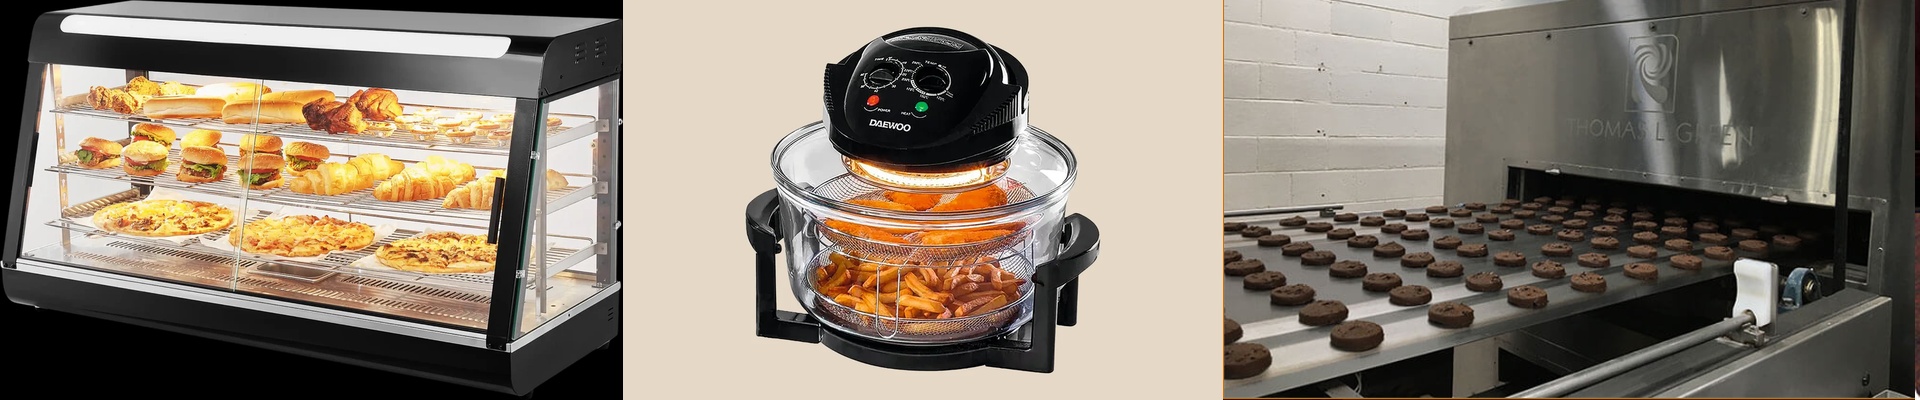
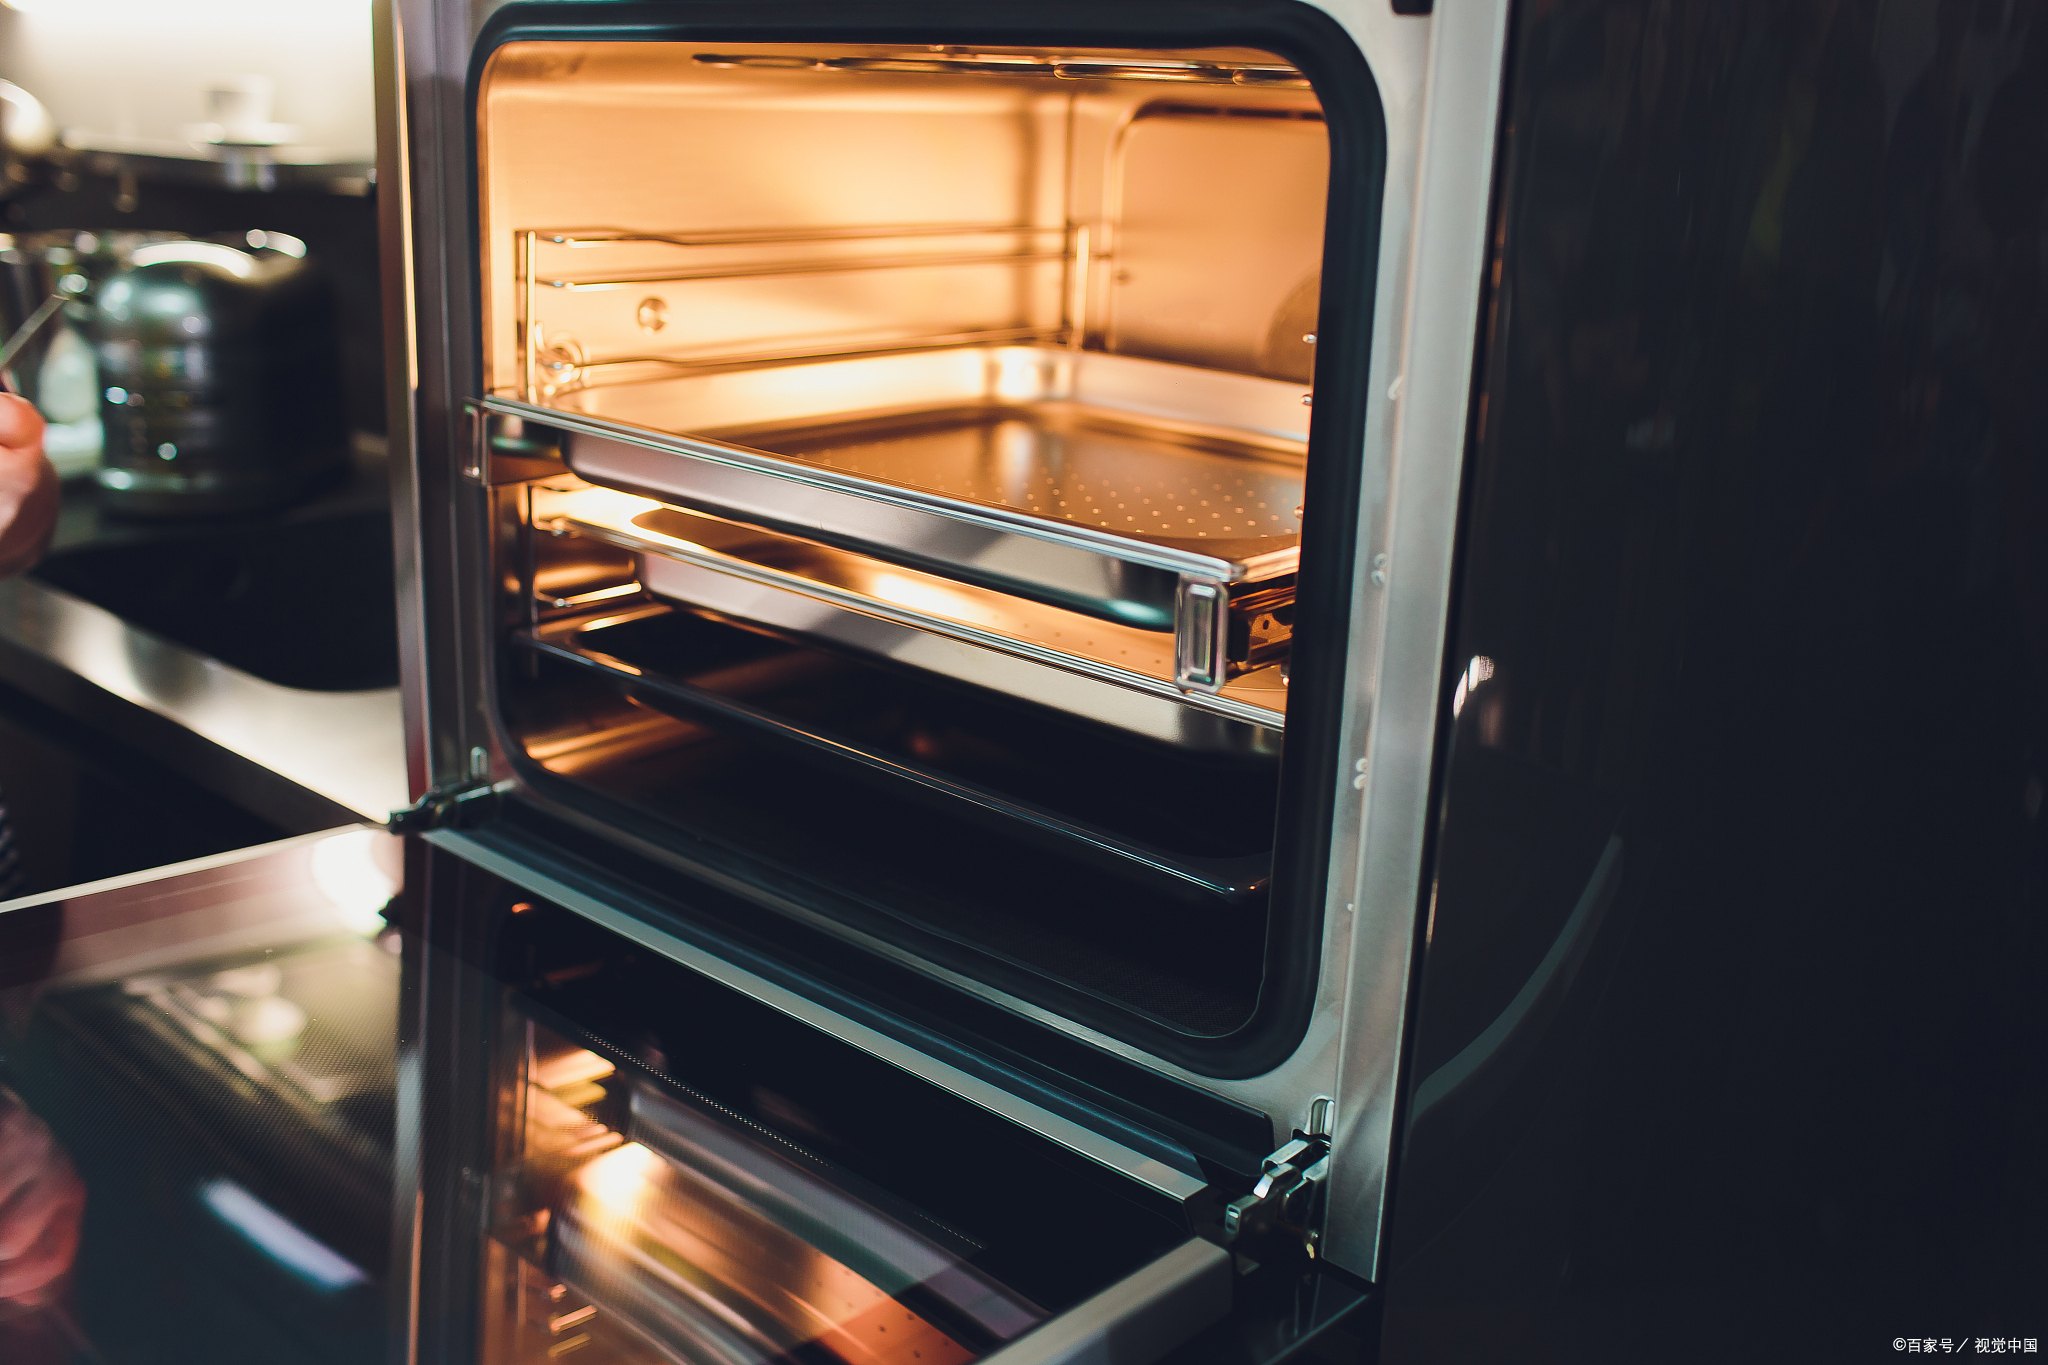
Let’s be honest: steam injection is a nightmare for heating elements. You’ve got moisture clinging to every surface and temperatures swinging wildly every time the door opens. It’s a brutal environment. That’s why we lean on shortwave infrared quartz lamps for the reheating stages. The beauty of these is that they don’t waste time warming up the entire oven cavity. They just hit the bread with immediate heat. It’s fast. Really fast. Getting the Heat Right If you want that perfect crust color and a center that’s actually cooked, you need serious heat density. We spend a lot of time tweaking the wattage-to-length ratios on these lamps. Why? Because nobody wants “cold spots” on a baking tray—that’s how you end up with inconsistent loaves. But here’s the catch: if you cram a high-wattage tube into a tiny space, you have to make sure your control board can actually handle the current. If you don’t, you’re looking at a fried relay and a dead oven. Fighting Off the Steam Standard heating wires just can’t hack it here; they burn out way too quickly when steam hits them. To fix that, we wrap the tungsten filament in high-purity quartz glass. It acts like a shield. It stops oxidation and keeps the glass from cracking when it hits a sudden blast of cold air. We also fill them with halogen gas, which keeps the filament strong. It basically means your lamps actually last, even in a chaotic kitchen. Setting Them Up We use R7s or SK15 connectors for most of our elements. I love these because they’re basically “plug and play.” If a lamp burns out, you aren’t rewiring the whole chassis. You just pop the old one out and slide a new one in. You’re back in business in minutes. One thing to watch out for, though: shortwave IR penetrates deep. If the lamp is sitting too close to the dough, you’ll scorch the top before the middle is even warm. You’ll need to play around with the mounting distance and the duty cycle until it feels right for your specific dough.